Stop the presses, y'all. I sewed something *and* finished it in a day! It's not perfect (it's kind of homely, actually) as this was my very first time in life doing something like this, but I have to say I'm pretty proud of myself!
As you know, I do not sew. I cannot cut a straight line and I can barely sew one. I do know how to thread my machine, wind the bobbin and with a little thought I can remember which direction to feed my fabric so it goes the right way. That's where my sewing skills start and end. However, I have successfully sewn a pillow and crib skirt and hemmed my jeans so I have had some luck a couple of times.
For my next trick, I'm going to attempt to sew a slipcover for the chair that now lives in New Baby's room and I knew I needed some warm-up time at the sewing machine. Sofia's big girl room is just about done, and one of the finishing touches I wanted was a new floor cushion/pouf and a new pillow, as the old ones didn't match anymore.

Once Drew hung the picture/book ledges and the curtain wire,
that left the pouf and the pillow.
That meant sewing.
Originally, I wanted to buy a pouf and simply sew a new pillow. I really liked the Moroccan leather ones, but they were just more than I wanted to spend and I really wanted to finish Sofia's room. Amazon and Etsy were cheaper, but still just a little more expensive than I preferred. Then the lightbulb went off - why don't I just make one? Yeah, leather would be fancy and upscale, but we still have to buy stuff for our bedroom, we're redoing the laundry room, Christmas is coming, and I have a whole nursery to build/buy. Plus, I could use the practice. So it was settled - I was going to make the floor cushion.
I used this tutorial, and if you make a floor cushion follow hers not mine. Use this post as a guideline of what *not* to do, because I do not sew and I was mostly winging it the whole way.

This is what it's *supposed* to look like.
Mine does not look like this, but is anyone really surprised?
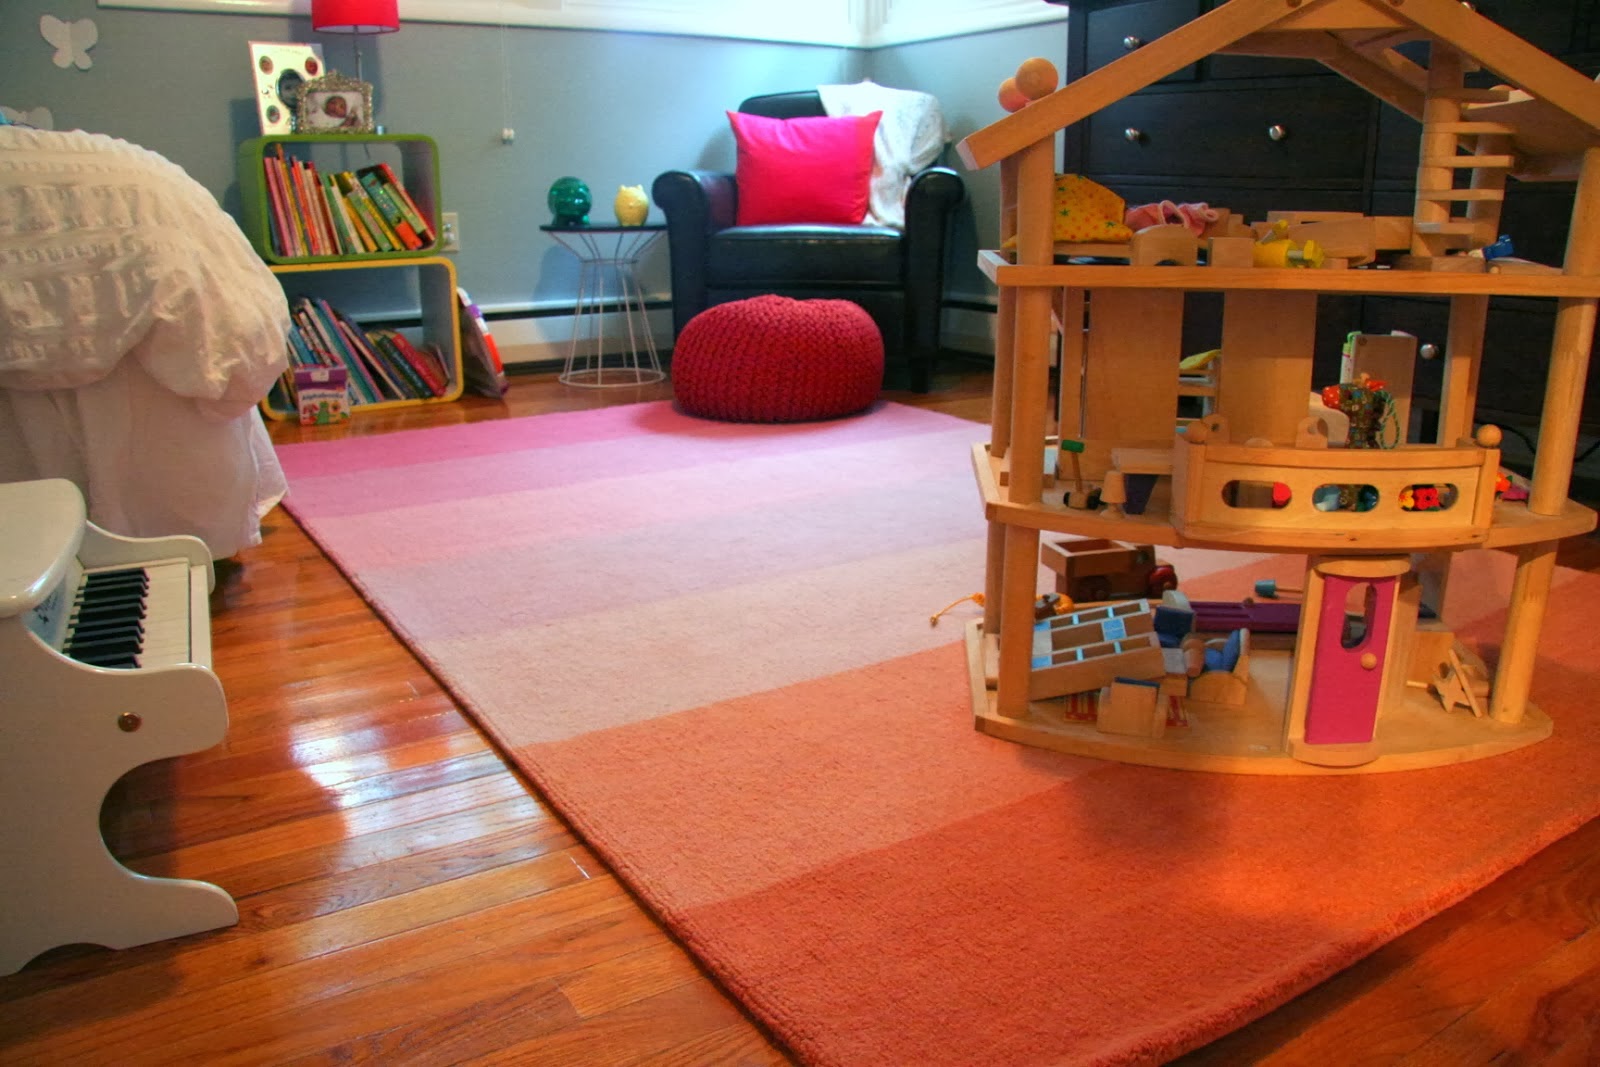
The old red pouf was not going to work with the new rug so it had to go.
In a perfect world, I wanted to find some fabric that had pink, orange and white in it.

I did some looking and found this fabric at Pink Chalk.
This was misstep number one. I wouldn't call it a full-out mistake, but I was too impatient to order a swatch, wait for it to come, see if it worked in the room, order the fabric if it did work, and wait for it to come before I started the project. I just couldn't wait for all that; I wanted to sew today. This fabric could have been the most perfect fabric in all the land but I'll never know because I went to JoAnn's today and bought fabric today with the intent of sewing today.
Misstep number two: Trusting the people at JoAnn's to know what the hell they're talking about. Apparently, the staff members at the store in my town don't have to know anything about measuring because I told them what I was doing, they told me how much fabric to buy, I bought it and it turned out to be entirely too much. I have enough to make a whole other cushion, which sort of negates the whole 'saving money' aspect of this little project. So if you make a floor cushion, you're going to sit down and do the math and figure out down to how many eighths of a yard you need before you go to the store so you don't end up with a shit ton more fabric than you need.
But we're moving on. You need home decor fabric for this project, which is heavier than regular fabric. JoAnn's didn't have any home decor fabric in stock that I liked and I didn't want to order any (because I'm too impatient), so I settled on the cotton duck, which is a type of canvas. It's also nice and heavy and as a bonus, it was solid so I didn't have to worry about lining up prints or right side out vs. wrong side out. They cut me way too much but I didn't know so I dumbly paid for it all, along with my bag of piping because they didn't sell the pre-made piping that the tutorial called for. However, I wasn't scurred because I need to learn how to make piping for my slipcover so I welcomed this little challenge.
I picked up Sofia from school, she went down for her nap and I got started.

The first thing you have to do is draw a circle for your pattern.
I taped twelve sheets of paper together to make my
circle 21 inches in diameter.
The tutorial calls for a 17 inch circle, but I wanted one a little bigger because I
measured the red pouf but didn't account for the different shape and fabric.
Lesson learned.

Then you need a compass to draw your circle.
If you don't have a compass, you will tape some string
to a pencil and get on with your life.

Then you will curse because a pencil on a string
is not as accurate as an actual compass.
Also, these pictures have a pink tint because I was at Sofia's play table and the
lamp next to it has a pink lampshade. In case you were wondering.

Then you'll wise up and realize that your kid's play table
is too small to make a full circle but it will accommodate a half circle
rather nicely. That's called using your brain, my friends.
Fold your big piece of paper in half, draw a half cirlce
and pat yourself on the back for being so smart.

Perfect circle! Haaaaaayyyyyy!

I was on a roll! I got my cording out, getting ready to pipe some shit!

The first time, I measured out 21 inches because that was the diameter of my circle.
I was so cocky and I cut that shit, and then was like 'oops.'
You're not going to do that.
You're going to run the cording around the perimeter of your circle like a smart person.
Then you're going to cut more cording that exact length
because you're going to have a top and bottom.
I took a lunch break, and while I ate I watched the slipcover video on how to make piping. Actually, piping is pretty straightforward, although of course I managed to mess it up.

Look at how much fabric JoAnn's sold me!
You need two inches worth for piping. Two inches!
I could pipe three floor cushions with all this damn fabric.

My very first attempt in life to make piping.
It's not snug against the cording, the stitching is not straight
but you can tell it's piping, so I'm going with it.
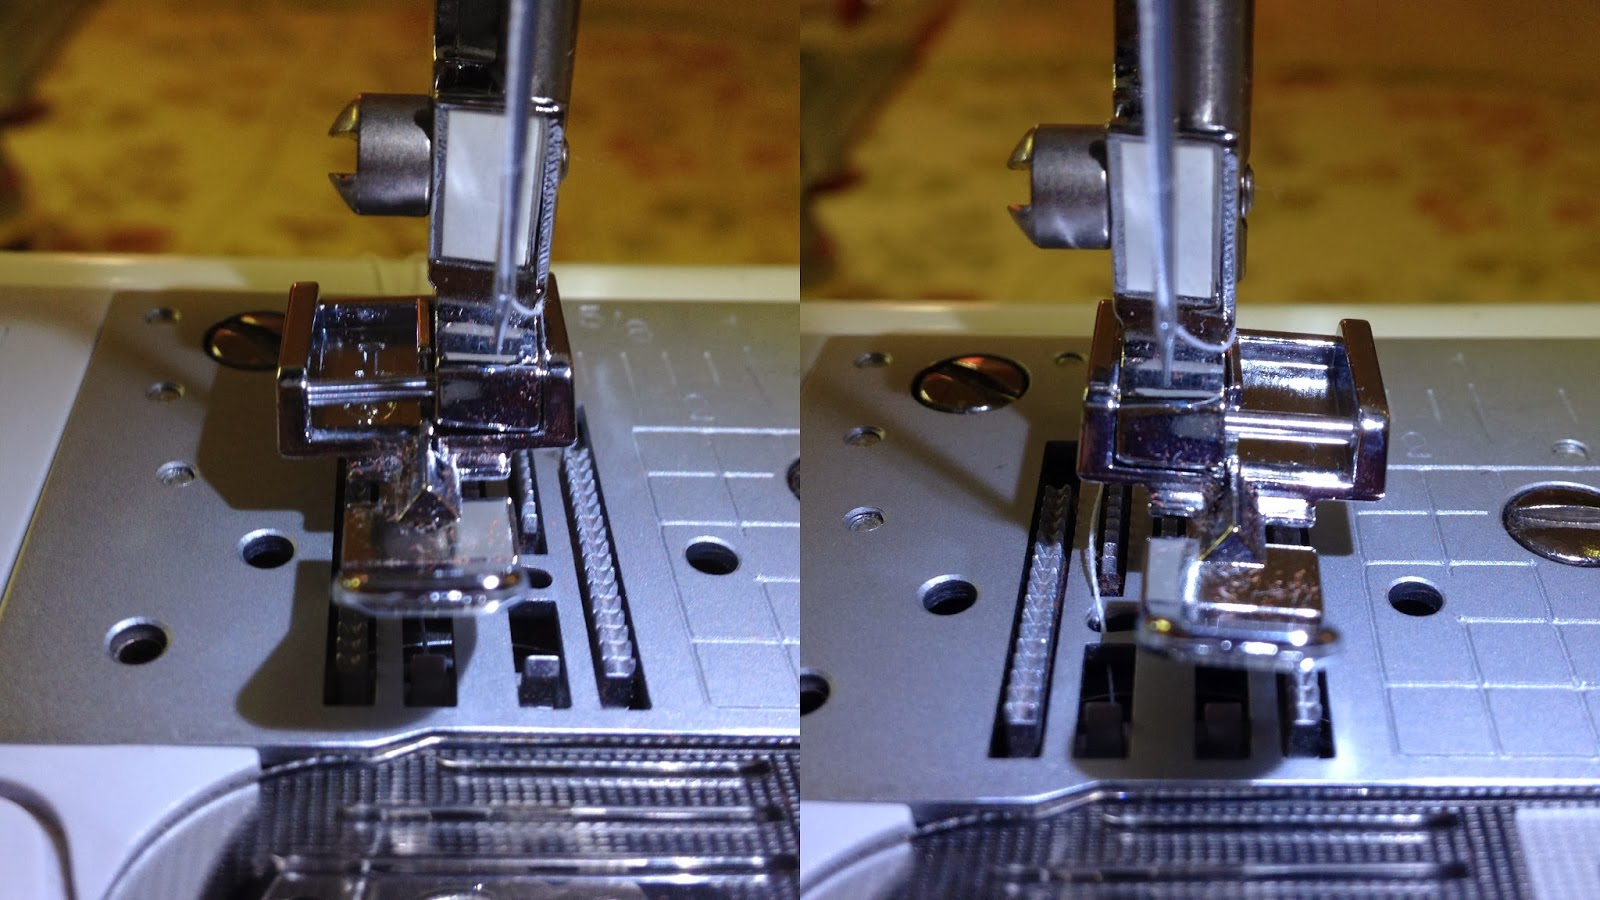
You need a zipper foot to make piping, and after my first pass
I wondered if grabbing the foot in a different position would make any difference.

The bottom one is my first try, the top one my second.
For the life of me I can't remember which position the zipper foot was in,
so again just enjoy the story because I'm sure as hell not trying to
teach you how to sew.
With the piping was done, I set it aside because it was time to cut out my circles.

I didn't take a picture of it, but I pinned the circle to the fabric because it kept moving around.

Again, look at all the damn fabric I have left over because
I was too impatient to do the math myself and JoAnn's
couldn't do the math for me.
I got a yard and a half and probably could have done with just half a yard.
Lesson learned, and you're going to do better than I did.

Here's my piping after I trimmed off the excess.
You see how little freakin' fabric you need?!
In case you can't tell, I'm annoyed with JoAnn's.
But maybe I was wrong to go in and tell them the type of project
and expect them to tell me how much fabric I needed.
Maybe that's not something they do.
Either way, I'm doing the freakin' math myself next time.

I pinned my piping just like the tutorial said,
but my canvas was too stiff and wouldn't bend with the pins in,
so I ended up taking them about and manually lining up the edges as I sewed.
You're not going to do that. You're going to pin and figure out a way to make it work.

Another misstep: I thought it would be okay that the piping was longer
than the actual handle. It's not. Folding in the edges and trying to sew over
that many layers of canvas and piping will make your sewing machine
rattle and shake and lock up.
I was terrified that I broke my machine trying to sew this handle.
Trim the piping to the length of the handle before tucking in the edges.
Lesson learned.
I followed the rest of the tutorial as it was written and sewing the top and bottom to the body of the cushion wasn't easy. First off, circles are a pain in the ass to sew. Straight lines are much easier and you don't have to fight with your machine. Also, pinning things is preferable because if you don't pin and you try to just line things up as you go, you run the risk of pulling your fabric too much and it'll pucker, and you'll have to rip your stitches out and start over, cursing your face off as you go. Me and my seam ripper are best friends.
When stuffing your cushion, before you pat yourself on the back that you're going to 'upcycle' some nasty pillows you have laying around, open the pillows and remove the stuffing. Don't shove a rectangular pillow in a round cushion, because you'll stare and stare and realize that you're going to have to open the damn thing back up because it's too lumpy in the wrong places. You're going to be better than me.

And after all those words, here's my homely floor cushion with the jacked-up handle.
But hey, I made piping!
It's a good deal bigger than the original red pouf because I didn't do the math. I wanted it to be a *little* bigger but I wasn't sure by how much so I guessed because they're two different shapes and the fill is different. Next time I will do the math. Next time I will do the math. Next time I will do the math.
I may banish this one to the basement and make this one tomorrow.

There's no piping or handles and it's straight lines.
Plus, now that I kinda know what I'm doing, it might actually take me
just an hour.
This was my $40 sewing lesson and even though my floor cushion is homely beyond words, I'm not calling this a failure because look at what I learned!
I learned how to make piping, which will come in handy when I make my slipcover.
I learned that I need to be more patient (not sure if that lesson will stick, but one can hope.)
I learned I need to do math and not trust JoAnn's to do it for me.
I learned to work with my sewing machine and I'm not so scared of it anymore.
I learned to find straight edges like rugs to cut my fabric (even though I still need practice.)
You can't learn if you don't try and I tried and I'm proud of myself for that. And even though this cushion might get banished to the basement, I'm already thinking about how to improve on the next one. This cushion, we'll keep for posterity and keep on moving.

I love this quote.
 I snapped this picture a few minutes ago (Wednesday morning,) and by the light of day
it actually doesn't look that bad.

it actually doesn't look that bad.
While this little story is not at all meant to be a sewing tutorial, maybe it can serve as a small reminder. That even when you try and mess up, you still win if you learn something from the experience. And yeah, if you never try you'll never mess up but there's no growth in that. Falling down and *not* bursting into a million pieces is a pretty valuable lesson and while this is just a sewing project, I learned a few things beyond just sewing.
That makes it a good and productive day.
Good night, my friends.

I honestly think it looks great!! Really nice job- piping SCARES me, and you made it look lovely! And it helped teach you a few lessons- better to have some extra fabric for another pouf than have extra fabric when making your slipcover- imagine how much more $$ that would cost :) I think with sewing, it just takes practice- so keep on practicing and you'll gain more confidence and skills along the way- I bet your slipcover will be great!
ReplyDeletewww.davenportdiy.com
I can't focus on the rest of your post after reading that you weren't "scurred". I am literally still laughing. I love your DIY blog posts. Miss you and Sofia.
ReplyDeleteThe poof is too cute!! I'm sure it looks perfect in Sofia's room. High-five on those sewing skills; you are getting good!
ReplyDeleteLMAO. Posts like this are why I love you so much, Des.
ReplyDeleteFirst of all, the floor cushion is great, especially for a first try! And the piping - its awesome! Second, even if its not the most perfect floor cusion in the world, it doesn't matter, because Sofia will love it forever because you made it just for her. When she's older and has children of her own, she'll be able to tell them that her mommy made it for her. So be proud!
ReplyDeleteOh I think it is fantastic! You really did a great job! It matches, it's fun, the piping is beautiful...I could go on.
ReplyDeleteIt's SO CUTE! I am majorly impressed!
ReplyDeleteOMG! I totally wanted to try that tutorial when I was pregnant and then I chickened out and bought a $20 ottoman from Target. Dang it. I should have just had you make me one! :)
ReplyDelete